
Using a reusable water drawing mat is simple: lay it flat, fill the pen with clean water, draw lightly on the surface, wait for the colors to appear, and let the mat dry before using it again. The key is using the right amount of water and letting the surface dry fully between sessions.
If you are still learning how the surface works, start with the guide on what a magic water drawing mat for kids is. This article assumes you already have the mat — or are about to — and want to know exactly how to use it without soaking the surface, faint lines, or a soggy mat.
How to Use It
- Lay the mat flat.
- Fill the water pen with clean water.
- Close the pen securely.
- Draw lightly on the mat.
- Watch the colors appear.
- Let the mat dry.
- Repeat.
Fill → Draw → Reveal → Dry → Repeat
The five-step workflow behind every session
Water Drawing Mat
Light strokes, full dry, ready to reuse
Fill
Add clean water to the pen.
Draw
Use gentle strokes on the surface.
Reveal
Colors appear where the surface gets wet.
Dry
The marks gradually fade.
Repeat
The surface is ready for another drawing.
Fill → Draw → Reveal → Dry → Repeat
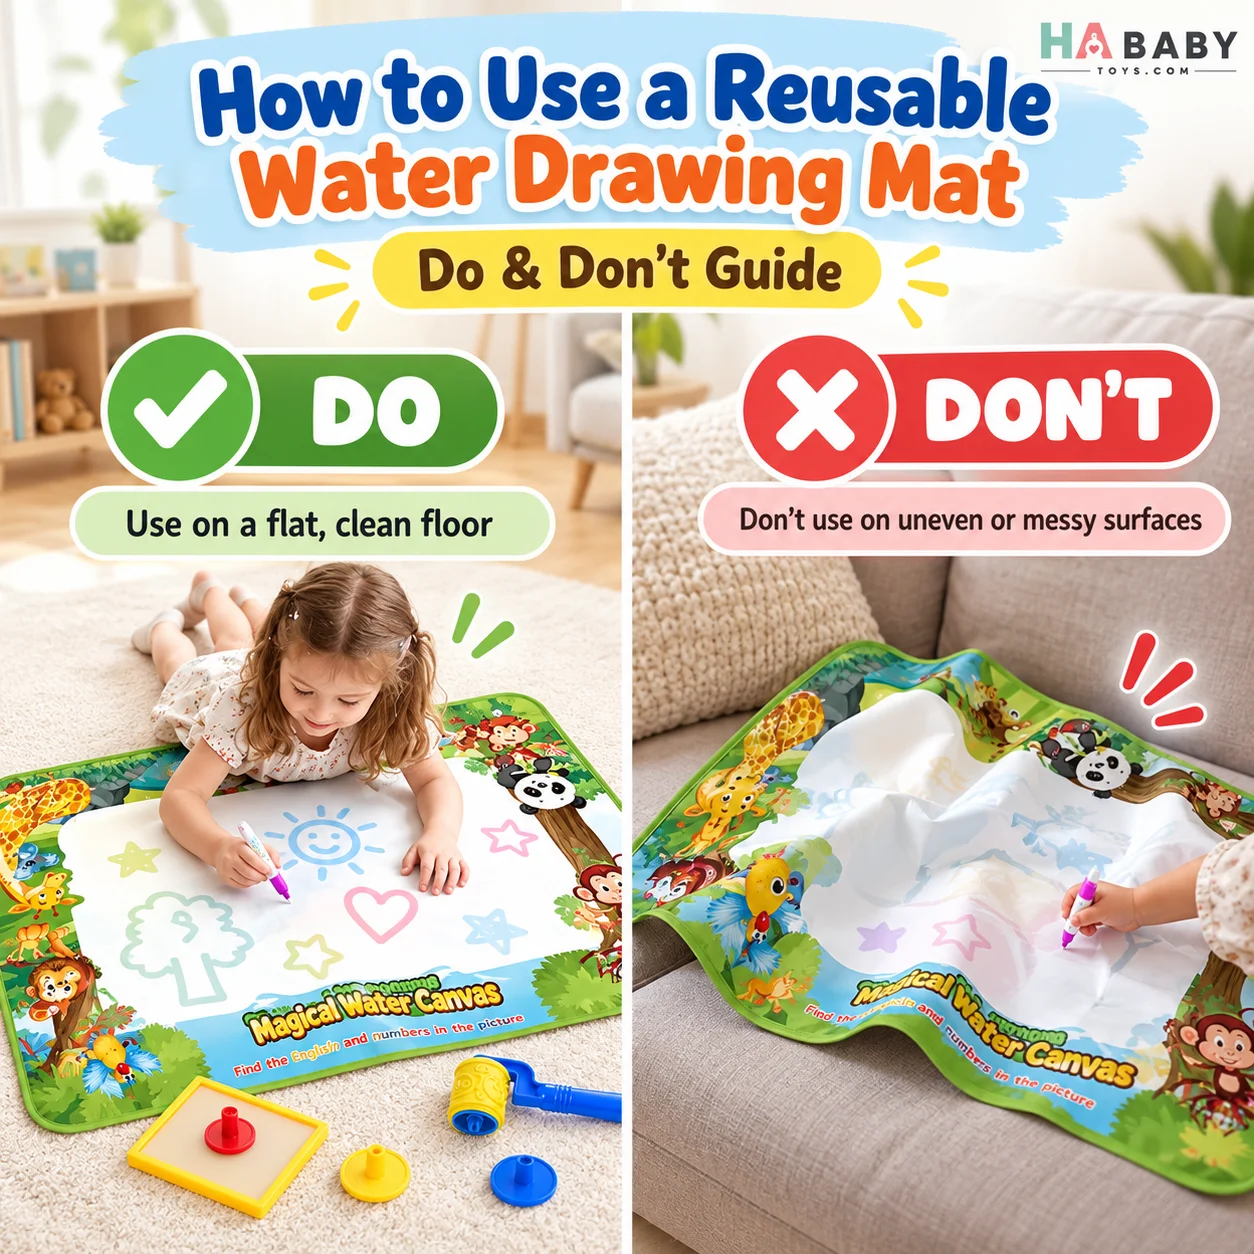
Step 1: Lay the Mat Flat
- Use a clean, dry surface
- Flatten folds before drawing
- Keep away from drinks
- Avoid rough surfaces underneath
- Make sure the mat is fully dry before starting
A flat surface makes drawing easier and helps prevent water from pooling in one area. A good rule: if the mat looks wrinkled or bunched, smooth it out before you start drawing.
Step 2: Fill the Water Pen Correctly
Open the pen
Follow the manufacturer’s layout for your specific pen.
Fill with clean water
Tap water is usually fine, but check the manual for any recommendations.
Do not overfill
Too much water can make the mat soggy and slow down drying.
Close securely
Tighten the cap so water does not leak during use.
Let the tip become damp
A damp tip is ready to draw. A dripping tip means too much water.
If the water pen is new, it may need a minute for the tip to fully absorb water before the first clean line appears.
Water Pen Setup
Four steps to a ready pen
Open
Unscrew or open the pen according to the model.
Fill
Add clean water — no ink, no soap, no additives.
Close
Tighten the cap fully to prevent leaks.
Prime
Let the tip absorb water for a moment before drawing.
Open → Fill → Close → Prime
Step 3: Test the Pen First
Before giving the pen to the child:
- Make one small line
- Check that color appears
- Make sure the pen is not leaking
- Confirm the tip is damp, not dripping
This helps avoid over-wetting the mat with a first, poorly controlled stroke. It also gives the child a clean starting point.
Step 4: Start With Light Strokes
You usually do not need to press hard.
Encourage:
- Gentle lines
- Slow strokes
- Simple shapes
Avoid:
- Scrubbing the surface
- Soaking one spot
- Pressing excessively
This helps preserve the mat and gives cleaner drawings. Light strokes also dry faster, which means quicker reuse.
Step 5: Let the Colors Develop
The reveal effect may become clearer a moment after the water touches the mat. Encourage parents not to keep adding more water immediately if the line is already forming.
Give the mat a second or two before adding more water. If the line already appears faintly, it will usually darken as the water spreads through the surface.
Step 6: Wait for the Mat to Dry
- Marks fade as water evaporates
- Drying time depends on room conditions
- Heavy wet areas take longer
- Do not fold while damp
A simple rule for the whole routine:
Draw → Dry → Reuse
How Much Water Should You Use?
Too little:
- Faint lines
- Incomplete reveal
Too much:
- Puddling
- Slow drying
- Drips
- Temporary oversaturation
Best approach: use enough water to make a visible stroke without soaking the surface. A damp tip and gentle pressure is usually all it takes.
What If the Pen Is Dripping?
Quick fixes:
- Empty a little water
- Tighten the cap
- Dab the tip
- Check for cracks
- Hold upright briefly
If leaking continues, stop using the pen until inspected. A dripping pen almost always means it has been overfilled or the cap is not sealing properly.
What If the Drawing Is Too Faint?
Possible causes:
- Pen tip too dry
- Not enough water
- Surface not fully responsive yet
- Pen needs priming
Try this sequence:
Re-wet tip → make one test line → wait a moment
If the line remains faint after this, the pen may need a few minutes for the tip to absorb water fully.
What If the Mat Is Too Wet?
Stop drawing
Do not continue adding water to an already wet area.
Blot excess water if needed
A clean cloth can absorb standing water from the surface.
Leave the mat flat
Do not fold or move it while it is wet.
Let it dry completely
Wait until the surface has fully reset.
Restart later
Resume play once the mat has returned to its starting state.
Do not fold or store the mat while damp. Folding a wet mat can trap moisture and affect the drawing surface over time.
Troubleshooting Wheel
Six common problems and their quick fixes
Faint Lines
Re-wet the tip and make one test line.
Dripping Pen
Empty a little, tighten the cap, dab the tip.
Slow Drying
Move to a warmer, drier area with airflow.
Patchy Reveal
Add light water, not heavy strokes.
Wet Surface
Blot, keep flat, and let dry fully.
Wrinkled Mat
Flatten and let dry before reuse.
Beginner Drawing Activities
Free scribble
Let the child explore the surface.
Straight lines
Horizontal and vertical lines.
Curves
Simple waves across the mat.
Circles
Easy repetition and control practice.
Shapes
Triangle, square, circle.
Parent copy game
Parent draws, child copies.
Letter Practice
For children ready for letters:
- Trace uppercase letters
- Copy simple names
- Practice one letter at a time
The mat can be one fun way to practice letter shapes, but it should complement — not replace — broader early-writing activities. Reading Rockets offers practical guidance on the drawing-to-writing progression.
Number Practice
- Write 1–5
- Count dots
- Match number to quantity
- Trace simple numerals
This supports educational use without overclaiming. The mat is a low-pressure practice surface, not a curriculum.
Tracing Activities
If the product includes tracing boards or templates:
- Place or follow the guide as instructed
- Trace slowly
- Remove only when finished
- Avoid soaking the guide
Do not assume every set includes tracing accessories. Check the product listing for what is actually included.
One Mat, Many Activities
Eight ways to use the same drawing mat
Doodle
Free scribbling and open-ended drawing.
Trace
Follow simple outlines and guides.
Letters
Practice uppercase letters one at a time.
Numbers
Write simple numerals and count together.
Shapes
Draw circles, squares, and triangles.
Copy Game
Parent draws, child copies.
Story Draw
Draw a scene from a favourite story.
Family Challenge
Take turns adding parts to a shared picture.
Parent-Child Games
Guess My Drawing
Parent draws a simple object and asks the child what it is.
Copy Me
Child copies a shape or line the parent draws.
Finish the Picture
Parent draws half, child completes it.
Draw and Tell
Child explains their drawing to the parent.
Shape Hunt
Draw shapes from objects around the room.
Name Game
Draw a shape or letter and ask the child to name it.
The UNICEF Parenting organization highlights responsive parent-child interaction as a key part of early development, and simple shared drawing activities are a natural fit for that.
Sibling Play
Simple rules for sibling use:
- Split the mat into zones
- Take turns with pens
- Create one shared picture
- Try a drawing challenge together
Shared use works especially well on larger mats. The National Association for the Education of Young Children (NAEYC) highlights turn-taking and shared creative play as normal parts of early group activity.
How to Use It for Quiet Time
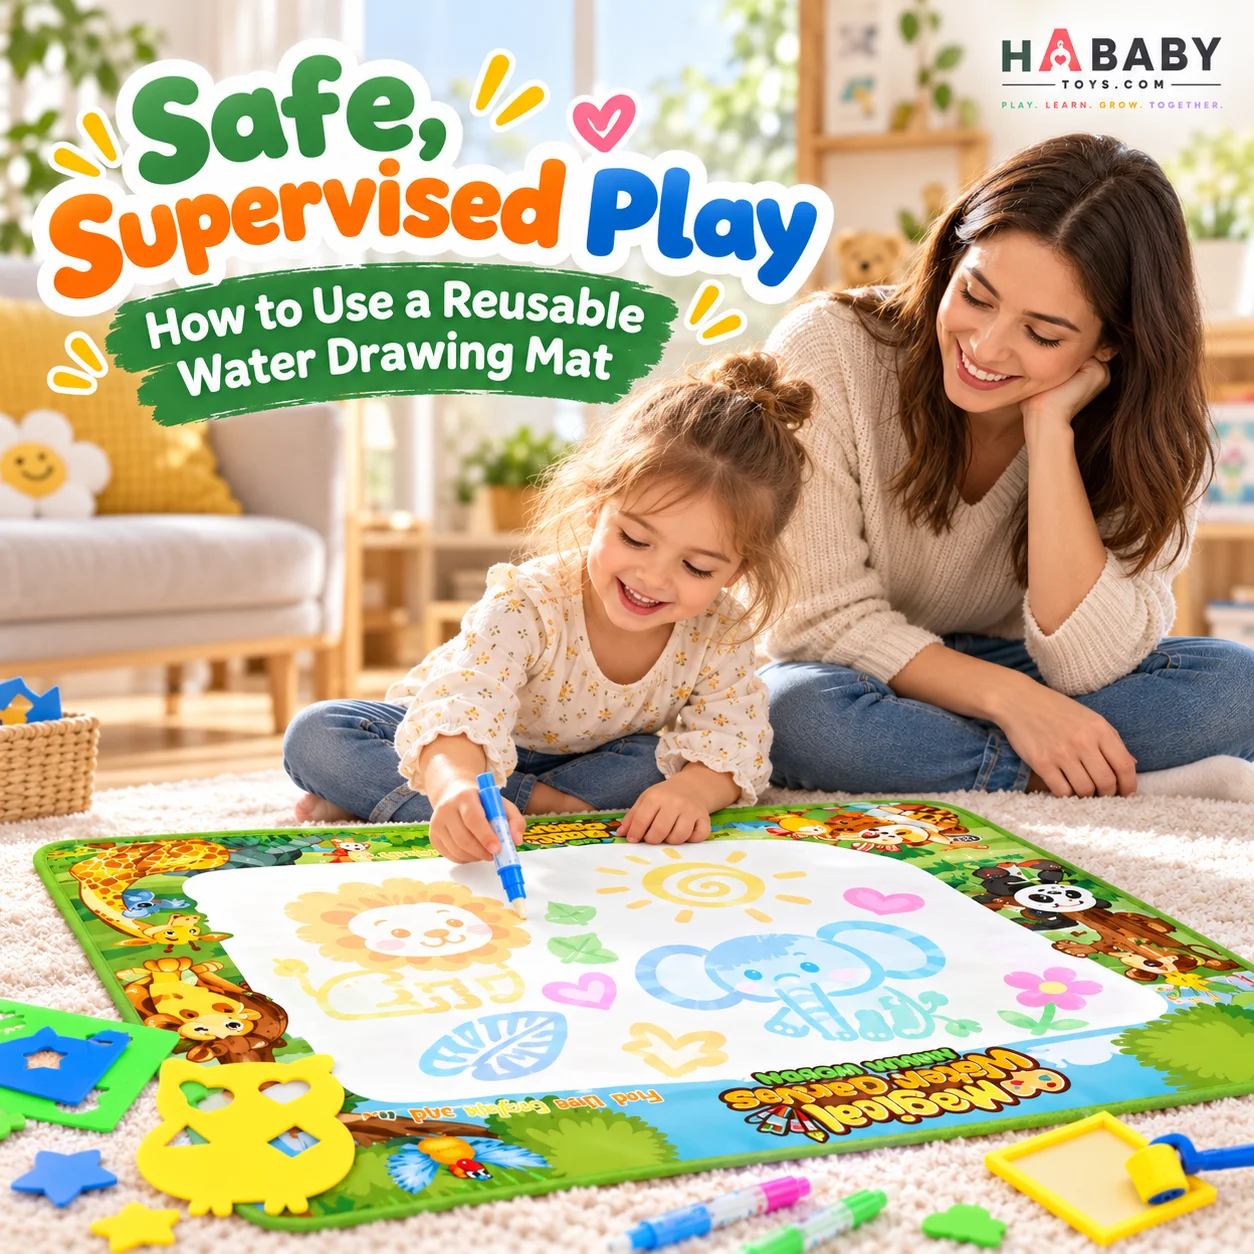
Lay mat out
On a clean, flat, dry surface.
Offer one or two pens
Small choices keep things calm.
Choose a simple activity
Free drawing, shapes, or tracing.
Let the child draw
Stay nearby but let them lead.
Dry and pack away
Wait for full drying before storage.
How to Use It During Travel
If the mat folds or rolls safely:
- Pack it dry
- Keep pens empty until needed
- Use on a flat hotel or table surface
- Let it dry before repacking
Avoid assuming the mat is portable unless you have confirmed the size and foldability of the specific model. Some mats roll easily; others are designed to stay flat at home.
Cleaning the Mat
- Use a soft damp cloth if allowed
- Avoid harsh cleaners
- Do not scrub
- Do not soak unless the manufacturer permits it
- Dry fully
Always follow manufacturer instructions. If the mat has a specific surface coating, harsh cleaners or abrasive scrubbing could affect the reveal effect.
Cleaning the Water Pens
- Empty after use
- Rinse with clean water if needed
- Let air dry
- Check caps
- Store dry
This helps avoid residue and leaking. A pen left with water inside for weeks may develop odours or blockages in the tip.
How to Store the Mat
- Dry completely
- Fold or roll as directed
- Keep away from direct heat
- Store pens separately
- Avoid placing heavy objects on top
A simple rule for the whole storage routine:
Never store the mat while damp.
Safety and Practical Use
Before and after play
- Use clean water only
- Wipe spills
- Keep away from electronics
- Follow age guidance
- Inspect pens for damage
- Supervise younger children as appropriate
- Avoid chewing on pen tips
- Do not add ink, paint, soap, or chemicals unless the manufacturer specifically allows it
For toy safety guidance, the U.S. Consumer Product Safety Commission publishes information on children’s products, recalls, and hazards. HealthyChildren.org from the American Academy of Pediatrics covers safe play practices in more detail, and Safe Kids Worldwide offers additional injury-prevention resources.
60-Second “Use It Right” Checklist
- Mat is flat and dry
- Pen contains clean water
- Pen is not overfilled
- Tip is damp, not dripping
- Child uses light strokes
- Excess water is wiped
- Mat dries before reuse
- Mat dries before storage
If you want to compare options or see the mat itself, explore the HA Baby Toys Magic Water Drawing Mat. For a buyer-focused look at the category, see why choose a mess-free water doodle mat for kids.
Ready to get the most from your reusable water drawing mat?
Explore the HA Baby Toys Shop →Frequently Asked Questions
How do I use a reusable water drawing mat?
Lay the mat flat, fill the pen with clean water, close it securely, draw lightly on the surface, wait for the colors to appear, and let the mat dry fully before using it again. The full step-by-step process is covered above.
How much water should I put in the pen?
Fill the pen without overfilling. A damp tip is ready to draw; a dripping tip means too much water. Too much water can make the mat soggy and slow down drying.
Why is my water pen dripping?
Common causes are overfilling, a loose cap, or a damaged tip. Try emptying a little water, tightening the cap, and dabbing the tip. If leaking continues, stop using the pen until it has been inspected.
Why are the drawings too faint?
Possible causes include a dry tip, not enough water, an unprimed pen, or a surface that has not fully responded yet. Try re-wetting the tip, making one test line, and waiting a moment.
How long does the mat take to dry?
Drying time depends on room temperature, humidity, water amount, and how heavily the child drew. There is no fixed universal drying time. Warm, dry rooms with airflow speed up drying; cool, humid rooms slow it down.
Can I use tap water?
Yes, in most cases. Check the manufacturer’s guidance for the specific product. Clean tap water is the standard and cleanest option. Avoid adding soap, ink, paint, or chemicals unless the manual allows it.
Can I use paint or ink on the mat?
No. The mat is designed for water only. Adding paint, ink, soap, or other liquids can stain the surface, affect the reveal effect, and damage the pen or mat. Use clean water only unless the manufacturer specifically allows another option.
What happens if the mat gets too wet?
Stop drawing, blot excess water if needed, leave the mat flat, and let it dry completely. Do not fold or store it while damp. Restart play once the surface has fully reset.
Can children practice letters and numbers on it?
Yes. It can be one fun way to practice letter shapes and numbers, but it should complement — not replace — broader early-writing activities. Reading Rockets offers practical guidance on early writing development.
Can two children use the mat together?
Yes, especially on larger mats. Sibling play works well with zones, turn-taking with pens, shared pictures, and simple drawing challenges. The National Association for the Education of Young Children (NAEYC) highlights turn-taking and shared creative play as normal parts of early group activity.
How do I clean the mat?
Use a soft damp cloth if allowed, avoid harsh cleaners, do not scrub, and do not soak the mat unless the manufacturer permits it. Dry fully before storing. Always follow the product-specific care instructions.
How do I clean the water pens?
Empty the pens after use, rinse with clean water if needed, let them air dry, check the caps, and store them dry. This helps prevent residue and leaks.
Can I fold the mat while damp?
No. Let the mat dry completely before folding. Folding a damp mat can trap moisture, encourage mould or odour, and affect the drawing surface over time.
How should I store it?
Dry completely, fold or roll as directed, keep away from direct heat, store pens separately, and avoid placing heavy objects on top. Never store the mat while damp. The HA Baby Toys FAQ also answers common product and ordering questions.
Where can I buy the HA Baby Toys Magic Water Drawing Mat?
Visit the HA Baby Toys shop to see the magic water drawing mat and other creative play products. Families can also browse the 3+ Years category for related activity toys. Retailers and larger buyers can request a quote from HA Baby Toys.
The Short Version for Busy Parents
Using a reusable water drawing mat is not complicated once you follow the five-step workflow: fill, draw, reveal, dry, repeat. The rest is habit-building.
Keep the mat flat and dry before you start. Fill the pen with clean water without overfilling. Use light strokes rather than hard scrubbing. Let the colors develop on their own before adding more water. And let the mat dry fully before reuse or storage.
Once you have the routine, the mat becomes one of the easiest creative activities in the house — no ink, no paper, no fuss. And when your child is ready, the same mat can support letter practice, number games, and shared drawing challenges.
For more creative play ideas and family-friendly activity products, HA Baby Toys offers toys designed around everyday family routines. You can also browse the HA Baby Toys blog for more guides on drawing, mark-making, and screen-free play.
One Response